» AviSynth is a powerful video FrameServer for Win32.
AviSynth Links:
»Download
»Learn to script
»FAQ
»Manual
»Discussion fora
»Project page
»External filters
»FeedBack
» You can add pages to this website
immediately. No login required.
Edit this document
|
|

| Mode | Description |
| Blend | This is the default mode. When opacity is 1.0 and there is no mask the overlay image will be copied on top of the original. Ordinary transparent blending is used otherwise. |
| Add | This will add the overlay video to the base video, making the video brighter. To make this as comparable to RGB, overbright luma areas are influencing chroma and making them more white. |
| Subtract | The opposite of Add. This will make the areas darker. |
| Multiply | This will also darken the image, but it works different than subtract. |
| Chroma | This will only overlay the color information of the overlay clip on to the base image. |
| Luma | This will only overlay the luminosity information of the overlay clip on to the base image. |
| Lighten | This will copy the light infomation from the overlay clip to the base clip, only if the overlay is lighter than the base image. |
| Darken | This will copy the light infomation from the overlay clip to the base clip, only if the overlay is darker than the base image. |
| SoftLight | This will lighten or darken the base clip, based on the light level of the overlay clip. If the overlay is darker than luma = 128, the base image will be darker. If the overlay is lighter than luma=128, the base image will be lighter. This is useful for adding shadows to an image. Painting with pure black or white produces a distinctly darker or lighter area but does not result in pure black or white. |
| HardLight | This will lighten or darken the base clip, based on the light level of the overlay clip. If the overlay is darker than luma = 128, the base image will be darker. If the overlay is lighter than luma=128, the base image will be lighter. This is useful for adding shadows to an image. Painting with pure black or white results in pure black or white. |
| Difference | This will display the difference between the clip and the overlay. Note that like Subtract the difference is displayed as grey=127. If you want the pure difference, use ColorYUV(off_y=-127). |
| Exclusion | This will invert the image based on the luminosity of the overlay image. Blending with white inverts the base color values; blending with black produces no change. |
greymask
This option specifies whether chroma from the mask should be used for chroma transparency. For general purpose this mode shouldn't be disabled. External filters like mSharpen and Masktools are able to export proper chroma maps.
Default value is true
output
It is possible to make Overlay return another colorspace. Possible output colorspaces are "YUY2" and "YV12", "RGB32" and "RGB24".
Default is input colorpace
ignore_conditional
This will make Overlay ignore any given conditional variables. See the "Conditional Variables" section for an overview over conditional variables.
Default: false
pc_range
When set to true, this will make all internal RGB -> YUV -> RGB conversions assume that luma range is 0 to 255 instead of default 16->235 range. It is only recommended to change this setting if you know what you are doing. See the section on "RGB considerations" below.
Default: false
RGB considerations
This section will describe things that may give you an explanation of why Overlay behaves like it does when it is given one or more RGB sources.
One or more inputs for Overlay are allowed to be RGB-data. However, as Overlay is processing material in the YUV colorspace this will lead to an RGB to YUV conversion. There are two modes for this conversion, toggled by the "pc_range" parameter. This parameter will extend the YUV range from 16-235 (this is the range used by all avisynth converters) to 0-255. There are some cases where enabling pc_range is a good idea:
- When overlaying an RGB-clip using the "add", "subtract" or "multiply" modes, the range of the overlay clip is better, if it is 0-255, since this will enable completely dark areas not to influence the result (instead of adding 16 to every value).
- When NOT doing a colorspace conversion on output. If the output colorspace (RGB vs. YUV) is different from the input, the scale will be wrong. If pc_range is true, and input is RGB, while output is YUY2 - the YUY2 will have an invalid range, and not CCIR 601 range.
Outputting RGB
It might be a good idea to let Overlay output YUY2, even if your input colorspace is RGB, as this avoids a colorspace conversion back to RGB from YUV. You should however be avare that your material might be "overscaled", as mentioned above, if you use pc_range = true. You can correct this by using ColorYUV(levels="pc->tv") to convert back to 16-235 range.
Inputting RGB for mask clip
The mask clip from RGB may behave a bit different than it could be expected. If you always use a greyscale mask, and don't disable greymask you will get the result you'd expect. You should note that mask clip values are never scaled, so it will automatically be in 0->255 range, directly copied from the RGB values.
Using RGB32 alpha channel
Overlay will never use the alpha channel given in an RGB32 clip. If you want to extract the alpha channel from an RGB32 clip you can use the ShowAlpha command to extract the alpha information. For maintaining maximum quality it is recommended to extract the alpha as RGB.
Conditional Variables
The global variables "OL_opacity_offset", "OL_x_offset" and "OL_y_offset" are read each frame, and applied. It is possible to modify these variables using FrameEvaluate. The values of these variables will be added to the original on each frame. So if you specify "x = 100" as a filter parameter, and the global variable "ol_x_offset" is set to 50, the overlay will be placed at x = 150.
If you are using multiple filters this can be disabled by using the "ignore_conditional = true" parameter.
There is an example of conditional modification at the ConditionalReader page.
Examples
# Prepares some sources.
bg = colorbars(512,384).converttoyuy2()
text = blankclip(bg).subtitle("Colorbars", size=92, text_color=$ffffff).coloryuv(levels="tv->pc")

# This will overlay the text in three different versions.
overlay(bg, text, x=50, y=20, mode="subtract", opacity=0.25)
overlay(text, x=50, y=120, mode="add", opacity=0.5)
overlay(text, x=50, y=240, mode="blend", opacity=0.7)

# This will overlay yuy2clip with rgbclip using a yuy2-mask (note that the luma range of the mask is [0-255]).
Overlay(yuy2clip, rgbclip, mask = rgbclip.ShowAlpha("yuy2"))

# which is the same as
mask = rgbclip.ShowAlpha("rgb").ConvertToYUY2.ColorYUV(levels="TV->PC")
Overlay(yuy2clip, rgbclip, mask)

# which is the same as
mask = rgbclip.ShowAlpha("rgb")
Overlay(yuy2clip, rgbclip, mask)
This will take the average of two clips. It can be used for example to combine two captures of different broadcastings for reducing noise. A discussion of this idea can be found [here]. A sample script (of course you have to ensure that the frames of the two clips matches exactly, use DeleteFrame if necessary):
clip1 = AviSource("F:\shakira-underneath_your_clothes.avi")
clip2 = AviSource("F:\shakira-underneath_your_clothes2.avi")
Overlay(clip1, clip2, mode="blend", opacity=0.5)
Use a blue (or any other color) background (blue.jpg is a blue frame overlayed with subtitles in a black rectangle) as mask. The black rectangle containing the subtitles will be visible on the source clip (which is ColorBars here):
testcard = ColorBars()

# get a blue mask clip (the same blue as in ColorBars is used: R16 G16 B180)
maskclip = BlankClip(clip=testcard, color=$0f0fb4)

# Example subtitle file with blue backgroud as above
subs = ImageSource("F:\TestClips\blue.jpg").ConvertToRGB32

maskclip = ColorKeyMask(subs, $0f0fb4, 60)

Overlay(testcard, subs, mask=ShowAlpha(maskclip), mode="blend", opacity=1)
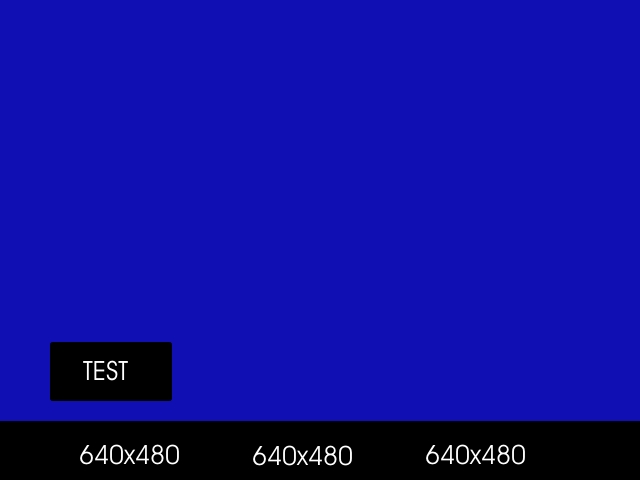 | 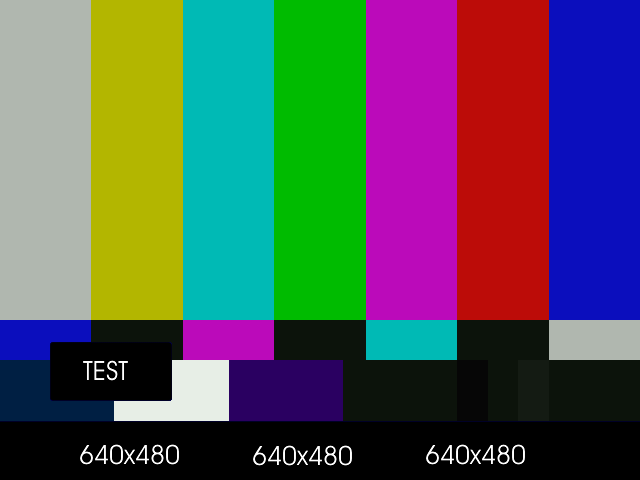 |
A tolerance of 60 is used here because the blue is not entirely uniform. Near the black rectangles the blue is given by R23 G22 B124. Probably due to the compression of blue.jpg.
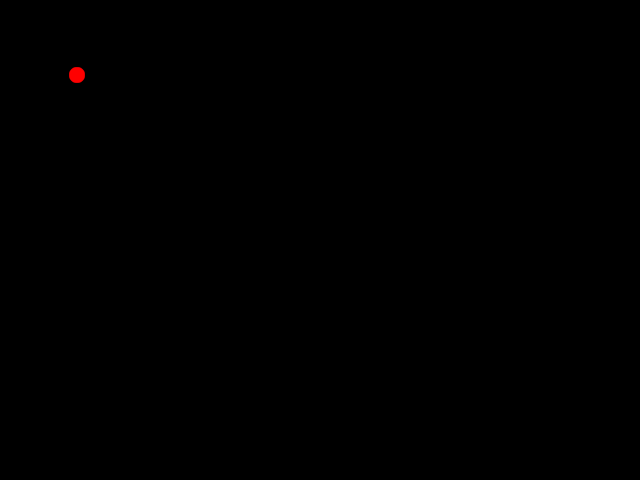
Move a red (or any other color) dot on a clip using ConditionalReader (dot.bmp is a red to on a black background):
a1 = ColorBars().Trim(0,399)
a2 = ImageSource("F:\TestClips\dot.bmp").ConvertToRGB32

# a2.GreyScale returns a grey dot on a black background; Levels makes the dot white
mask_clip = Mask(a2, a2.GreyScale.Levels(0, 1, 75, 0, 255))
Overlay(a1, a2, mask=ShowAlpha(mask_clip), y=0, x=0, mode="blend", opacity=1)

ConditionalReader("xoffset.txt", "ol_x_offset", false)
ConditionalReader("yoffset.txt", "ol_y_offset", false)
Make xoffset.txt containing the x-positions and yoffset.txt containing the y-positions of the moving dot (see ConditionalReader for more info), and put it in the same folder as your script:
| xoffset.txt | yoffset.txt |
| Type int | Type int |
| Default -50 | Default -50 |
| R 0 100 20 | R 0 100 20 |
| I 100 200 20 250 | I 100 200 20 350 |
| R 200 300 250 | R 200 300 350 |
| I 300 400 250 400 | I 300 400 350 40 |
The figures:
 | 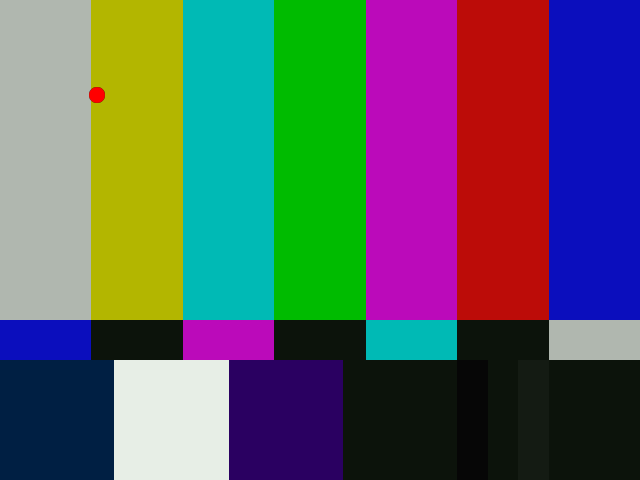 |
thus the dot moves in the following way: (20,20) -> (250,350) -> (400,40). Nb, it's also possible to do this with Animate.
Changelog:
| v2.54 | Initial Release |
| v2.55 | mode="Multiply" functionality has changed, so it works as supposed |